David A. Antler
How infrared remotes work
It’s hard to find a succinct explanation on the Internet of how infrared (IR) remote codes work, so I thought I’d provide a cocktail napkin explanation of my own.
Layman’s physics explanation
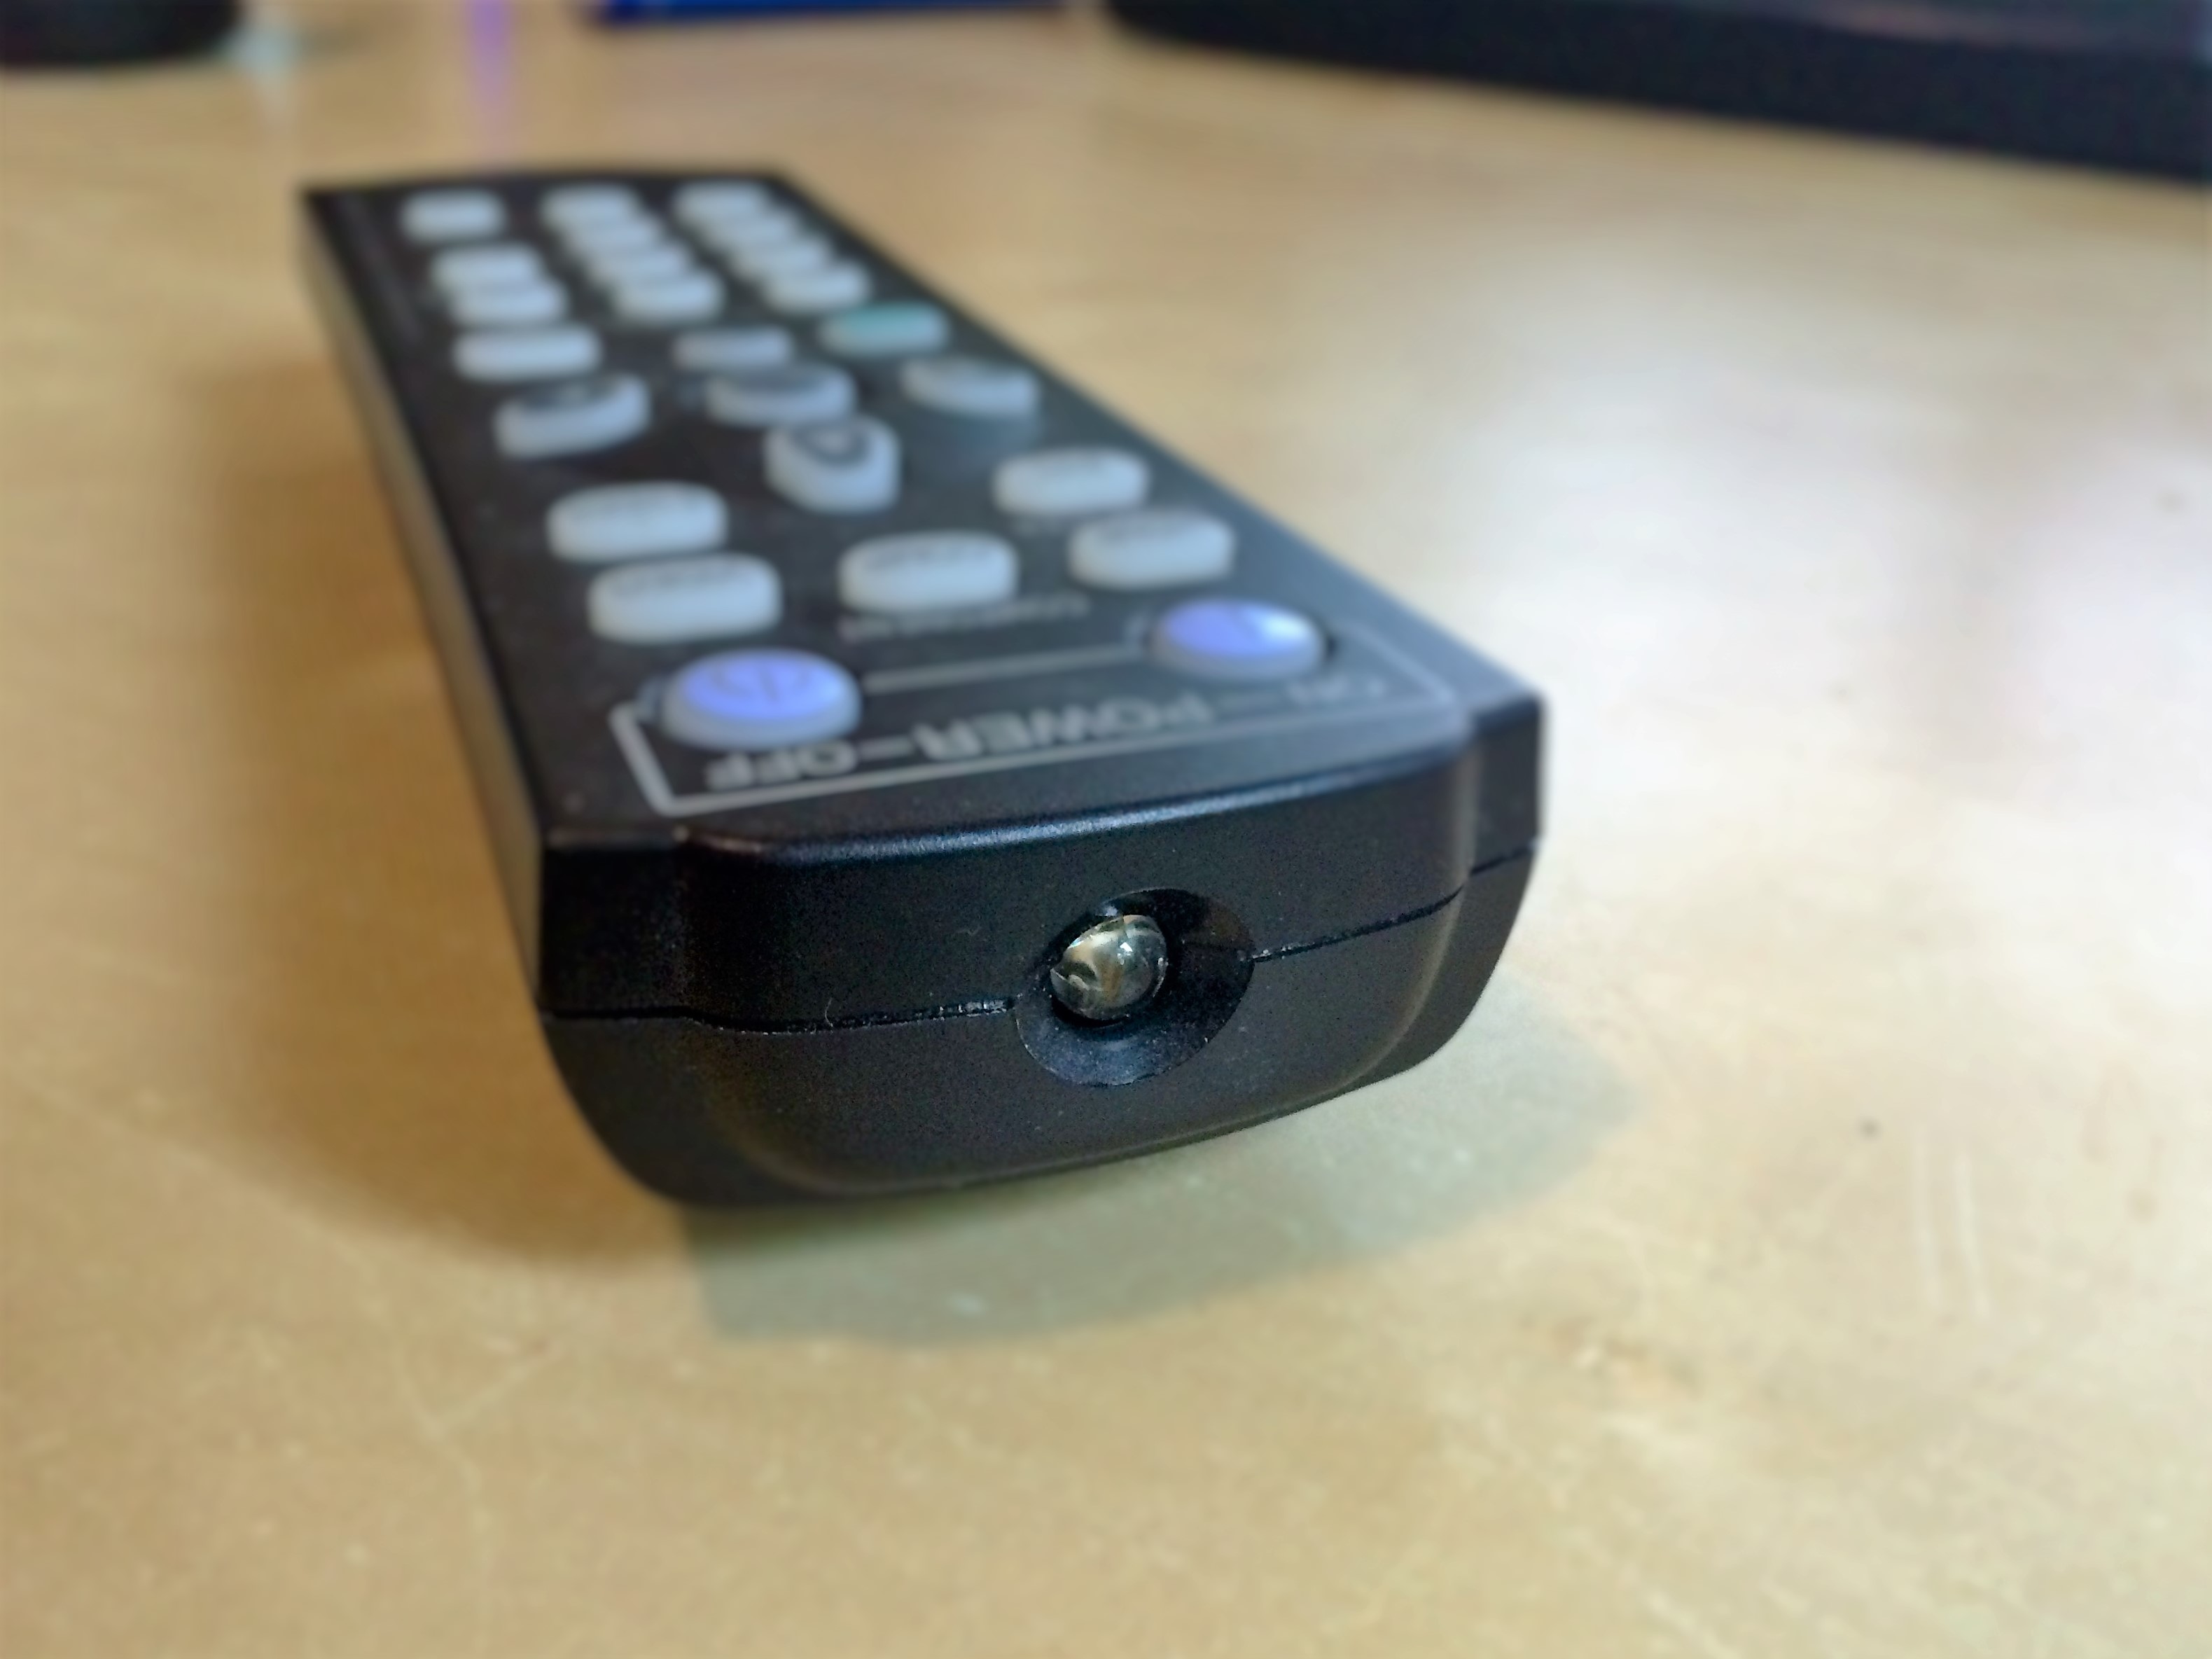
Look at the front of your favorite remote control. If you see either an LED, or perhaps a plastic semi-translucent window, you’re probably looking at an IR remote!
Infrared behaves similarly to visible light: it typically won’t propagate well through obstacles (such as your hand), and it is very directional. One major difference is that infrared light is invisible to humans; the wavelength is slightly longer than what your naked eye will detect.
This infrared LED is the only output of the remote. Therefore, your IR remote control is really just a blinking light. The light blinks whenever a button is pressed. Each button on the remote will cause the light to blink in a slightly different way, which will be described in the next section.
Similarly, the receiver side will have an infrared photodiode. An infrared photodiode senses infrared light.
This photodiode is connected to a circuit which is always listening to it: trying to detect a specific frequency and pattern. If a frequency and pattern is detected, and it appears to match the output of the associated IR remote controller, then the function will be activated. For example, a function match could be detected which toggles the power of the TV either on or off.
One important thing to note in this system is that data only flows from the remote control (transmitter) to the device (receiver). The receiver cannot send any messages back to the transmitter, therefore the transmitter’s only job is to blink its LED correctly and hope the receiver picks up the signal. The fancy word for this is simplex.
IR codes modeled as a sequence
An IR code is a distinct series of blinks which correspond to a particular function on the target device. Pressing a button on your TV remote will generate a code (a series of blinks) specific to the button being pressed. A television device may recognize this code as “ON/OFF” or “VOLUME UP” and behave accordingly. Here’s an example of what a typical IR code might look like.
Imagine a square wave where the size of each individual “square” can be different. In every infrared remote I’ve captured, each code can be modeled as a finite series of alternating “peak widths” and “valley widths.”
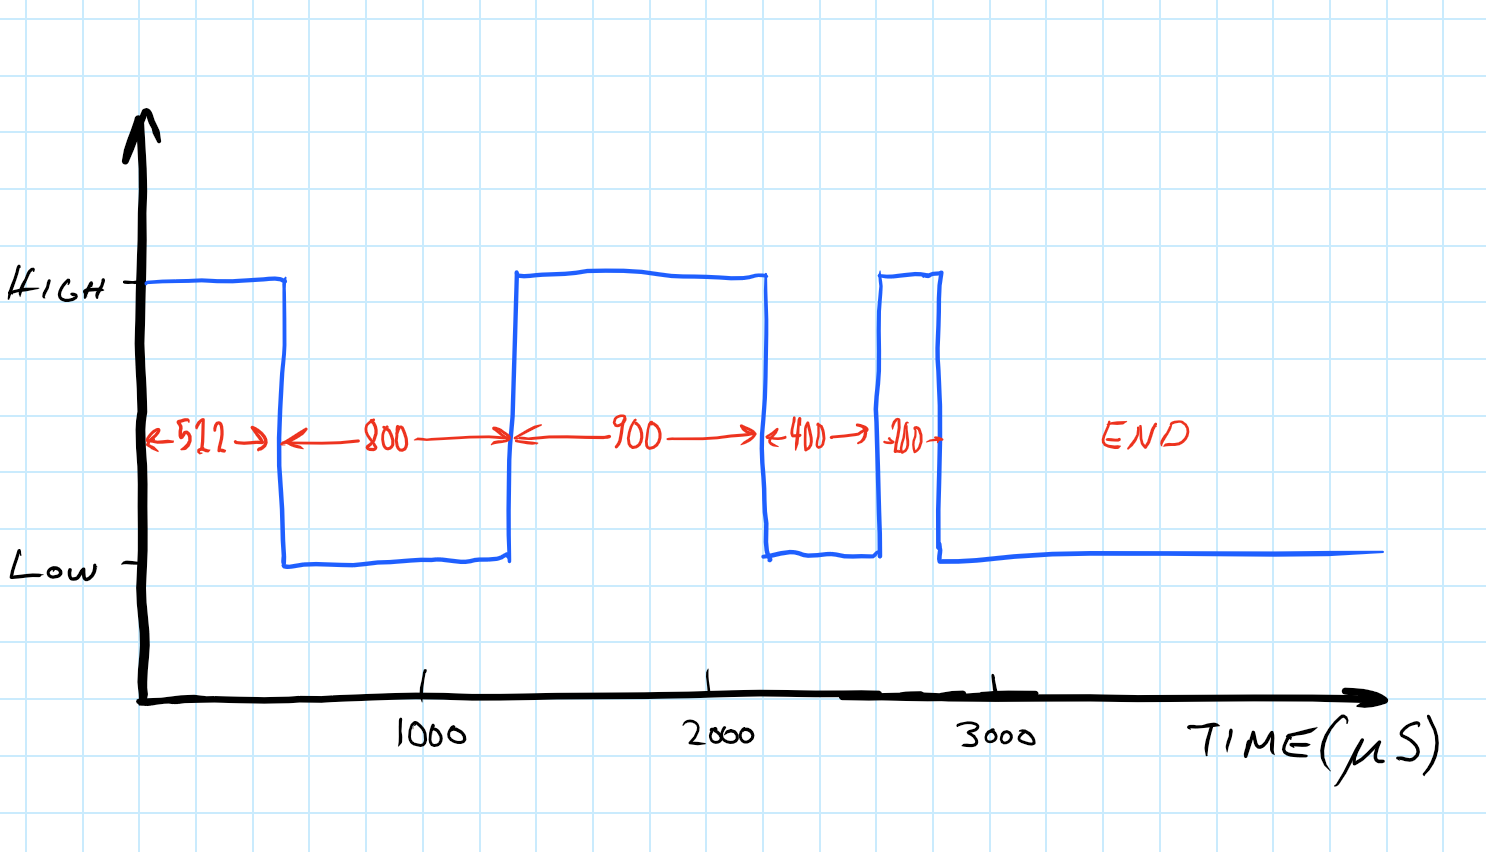
To record this data, we could say that each number is just a “time until transition,” and we could load those values into an array. In the example above, our sequence can be fully captured into an array like this:
1 | // Units are in usecs. First number assumed to be HIGH. |
Some would call this a raw_code. Acquiring this sequence for each button on the remote is most of the magic, but there’s one more trick. The entire signal is typically modulated with another square wave at 38KHz.
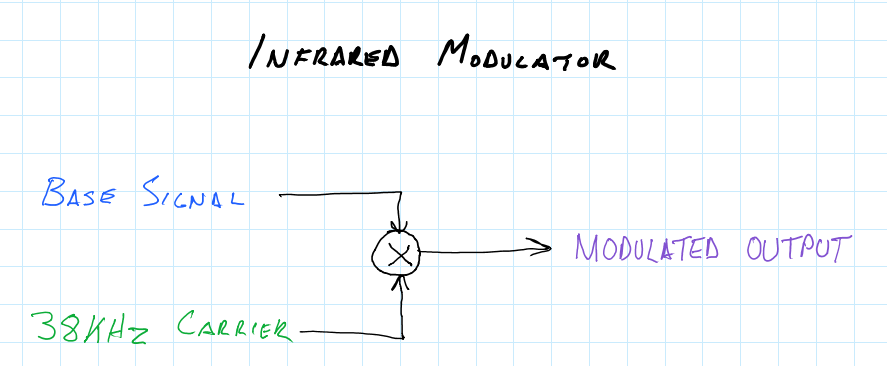
The modulated output signal will resemble the violet line below.
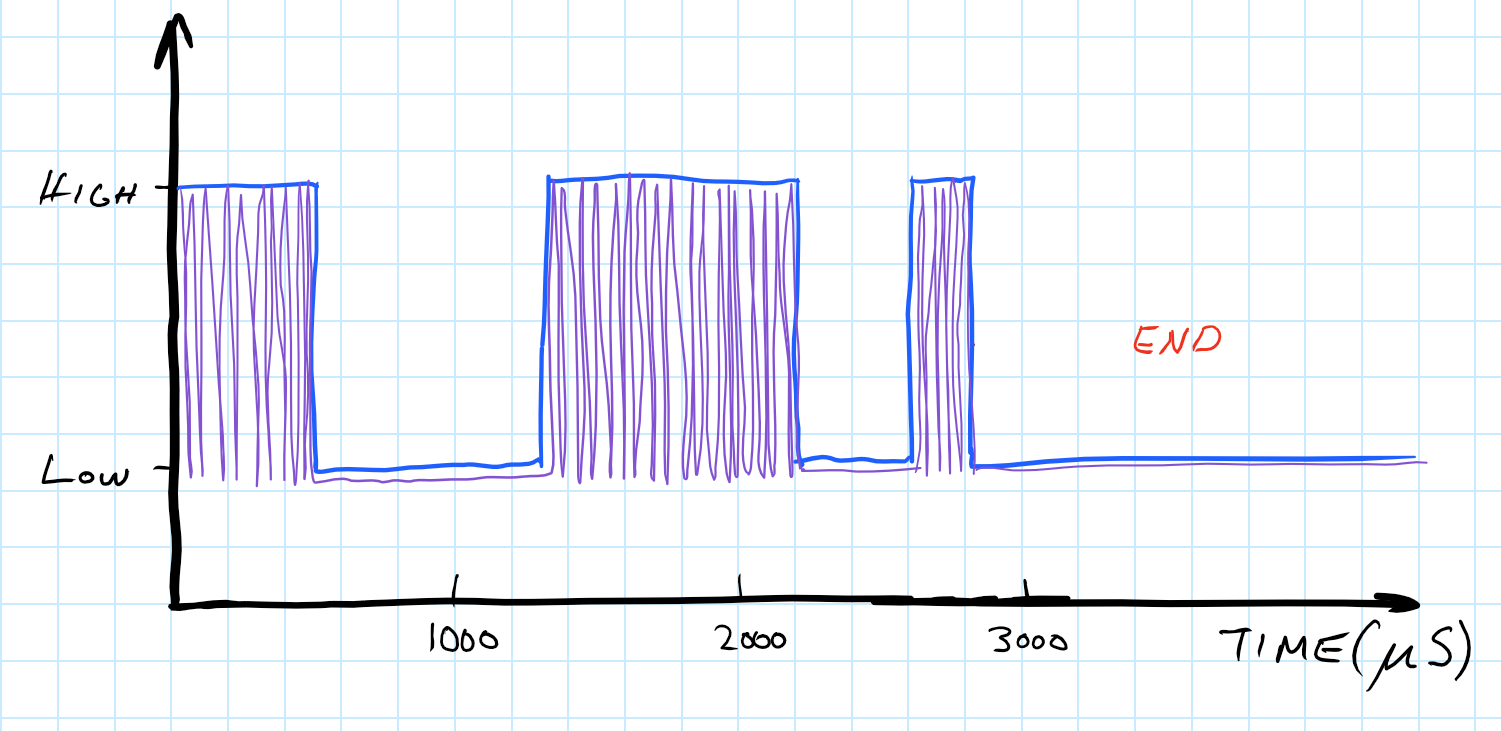 Note: The violet line is not drawn to scale, but generally shows how modulating the base signal with a 38KHz carrier signal would affect the output signal.
If you can make an LED blink at the same rate as the purple modulated output signal, then you should be able to control the receiver device!
A real code example
I have implemented a library for Arduino 101 which provides a function that can produce the modulated signal output discussed above. You can check it out here:
I recommend investigating the sendRawCode function, which is based upon the concepts discussed in this article.
Further reading
The example above is of the simplest imaginable cases of an infrared remote control signal. For instance, a real device typically has a raw_codes array which is 5x or 10x longer than the example above, but the concept remains identical.
Here are a few more advanced topics.
LIRC
The Linux Infrared Remote Control project (LIRC) created a file format generic enough to reproduce a large variety of remote controls. If you can understand how this translates back to blinking an LED, then theoretically you can emulate a remote control which you’ve never seen in person!
Capture your own IR codes
Requires: IRToy v2, Windows 10 or Linux PC, any IR remotes.
You’ll have to buy a special device for this called an “IRToy v2”. I bought one off AliExpress for $20, but it took a few weeks to receive.
Don’t forget to update your IRToy v2 firmware. My IRToy arrived with an ancient firmware and this was absolutely necessary.
Capture can be accomplished through LIRC. Windows users can use the WinLirc instructions. If you capture the codes correctly, you should be able to control your devices by hitting the correct buttons on your PC.
Pro Tip: Test that your captured remotes work right away!